Facebook Messenger (advanced setup)
This page covers the manual way to connect Facebook Messenger — you create your own Meta app, generate a Page access token, and paste the credentials into the channel form. It is the Advanced mode of the Facebook connector.
Most people don't need this. The simple way is to sign in with Meta, which collects the same credentials for you. Use this page only when:
- The Login with Meta button is disabled with the message "Meta App ID and App Secret are not configured on the server" — your deployment has no shared Meta app, so you must bring your own.
- You already run your own Meta app and want to connect its Page directly.
What the channel handles, how it attaches to an agent, and how to test it are the same however you connect — see the main Facebook page for those.
Before you start
- A Facebook Page for the agent to answer as. Create one at facebook.com/pages/create if you do not have one yet.
- A Meta developer account — register at developers.facebook.com.
- An account in the portal with permission to edit settings.
Set up the Meta app
Create the Meta app that links your Page to Flametree and collect the values you will paste into the portal. Meta's console changes over time; for current details, see Meta's Messenger Platform documentation.
-
Create an app. Go to developers.facebook.com/apps, click Create App, select the Business app type, and select your business account.
-
Add Messenger. In the App Dashboard, find the Messenger product and click Set Up.
-
Connect the Page and generate a token. In the app's Messenger settings, add your Facebook Page to the app, then select the Page under Access Tokens and click Generate Token. Save the token — this is the Access token for the portal form.
-
Collect the remaining values:
Value Where to find it in the Meta console App ID, App Secret App Settings > Basic Page ID, Access token Messenger > API Settings, after you connect the Page
While the app is in Development mode, only people with a role on the app can message the Page through it. Switch the app to Live mode in App Settings > Basic before real customers use the channel.
You do not configure the Messenger webhook in the Meta console. When the channel starts with an inbound agent attached, it registers its callback URL with your Meta app — including a verify token it generates itself — and subscribes to incoming Messenger events. Because this registration replaces the app's previous Messenger webhook, give each connection its own Meta app; to serve several Pages, put them in one connection instead.
Create the connection
-
Go to Settings > Channels, select Facebook in the channel list, and click Add. The New connector form opens on the right.
-
Turn the Advanced mode switch on. The credential fields appear.
-
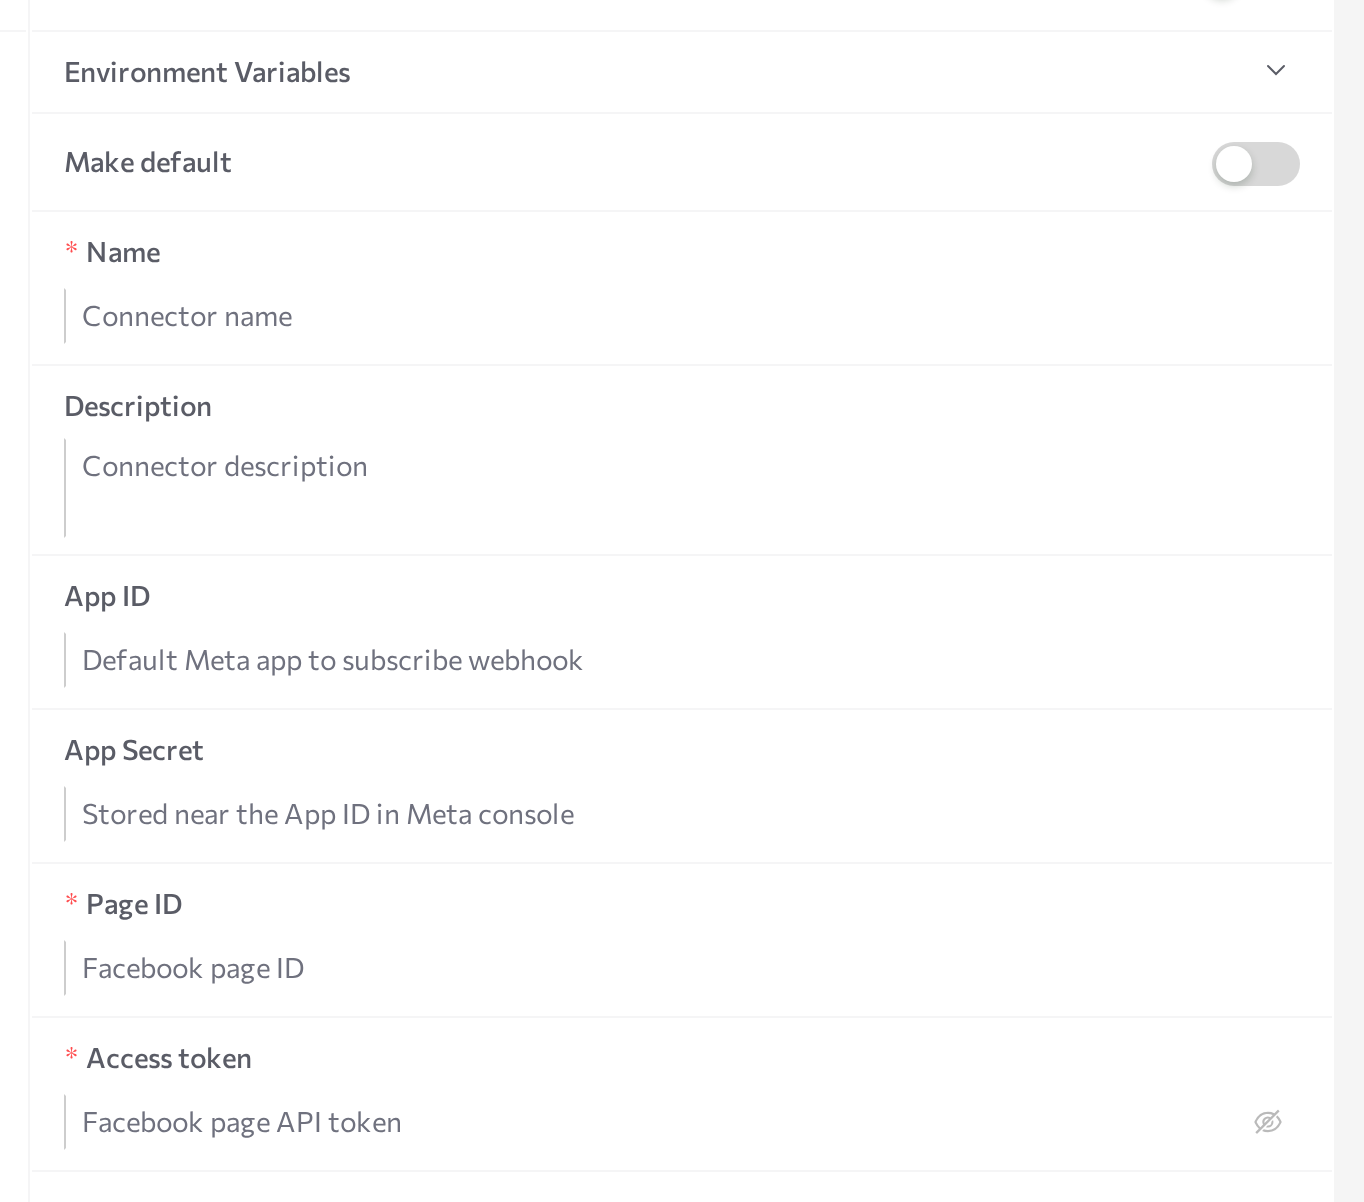
Fill in the form:
Field Required Description Name Yes An internal name shown across the portal. Description No Internal reference. App ID No The ID of your Meta app. If you leave it empty, the connection uses the Meta app configured on the server, if your deployment has one — when in doubt, enter your own app's values. App Secret No The app secret, found next to the App ID. Fill it in whenever you fill in App ID. Page ID Yes The ID of your Facebook Page. For several Pages, see Connect several Pages. Access token Yes The Page access token generated in the app's Messenger settings. Stored as a secret and displayed masked. -
Click Save.
-
Click Start in the panel header.
The status dot turns purple (STARTING), then green (RUNNING). On startup the channel checks every Page with the Graph API — if a Page ID or access token is wrong, the status turns red (ERROR); hover over the dot for the message and click Logs for details.
For the general mechanics of the screen — status dots, Logs, editing credentials, stopping and restarting — see the Channels overview.
Connect several Pages
One connection can serve several Facebook Pages, all connected to the same Meta app. Enter the Page ID values separated by commas, and the matching Access token values separated by commas in the same order — the first token belongs to the first Page, and so on. Enter App ID and App Secret once; they apply to every Page in the connection.
Each conversation stays on the Page the customer wrote to, and the agent answers as that Page.
Common issues
- The channel goes to ERROR on Start. A Page ID or access token is wrong — the startup check requests every Page from the Graph API. Click Logs for the exact message, fix the values, click Save, then Start. If the error says the app credentials must be set, fill in App ID and App Secret — the channel needs them even though the form does not mark them as required.
- Your own tests work, but messages from real customers never arrive. The app is still in Development mode, so only people with a role on the app can message the Page through it. Switch the app to Live mode in the Meta console.
- Messages stopped arriving after you started another Facebook connection with the same Meta app. Each connection registers its own webhook on the app, and the most recent registration wins. Keep one connection per Meta app — to serve several Pages, list them all in one connection.
- The access token was revoked or expired. Open the connection, paste the new token over the masked value, click Save, then restart the channel (Stop, wait for STOPPED, then Start).
Related pages
- Facebook Messenger — connect by signing in with Meta, plus attaching to an agent and testing
- Channels overview — create, start, stop, and monitor channel connections
- Instagram (advanced setup) — the other Meta messaging channel, set up by hand
- Sessions — monitor the Page's conversations